

How to Get Colored Epoxy
Scroll

In the vibrant world of DIY and creative projects, colored epoxy is a total game-changer; transforming everything from jewelry and coasters to custom furniture and river tables. With the right pigments or dyes, you can turn clear epoxy into a bold statement, a shimmering accent, or a dreamy transparent finish.
But with so many ways to add color, how do you know which methods to choose? This guide will walk you through the most popular epoxy colorants, how to use them, and a few insider tips to make your results stand out.
And because your color options just got even better - Promise Epoxy is proud to announce our new partnership with Eye Candy Pigments - bringing you an incredible selection of vibrant, epoxy-safe powders and pigments to unleash your creativity.
1. Pigment Dyes
If you want rich, opaque color without any transparency, pigment dyes are the way to go. They blend smoothly into epoxy, producing a bold, even finish that completely hides the surface beneath.
- Best for: Solid-color river tables, statement coasters, dramatic wall art, ocean art.
- Finish: Uniform and non-transparent.
- Pro Tip: Start with a small amount - too much pigment can affect curing.
Here are our favorite pigment dyes!
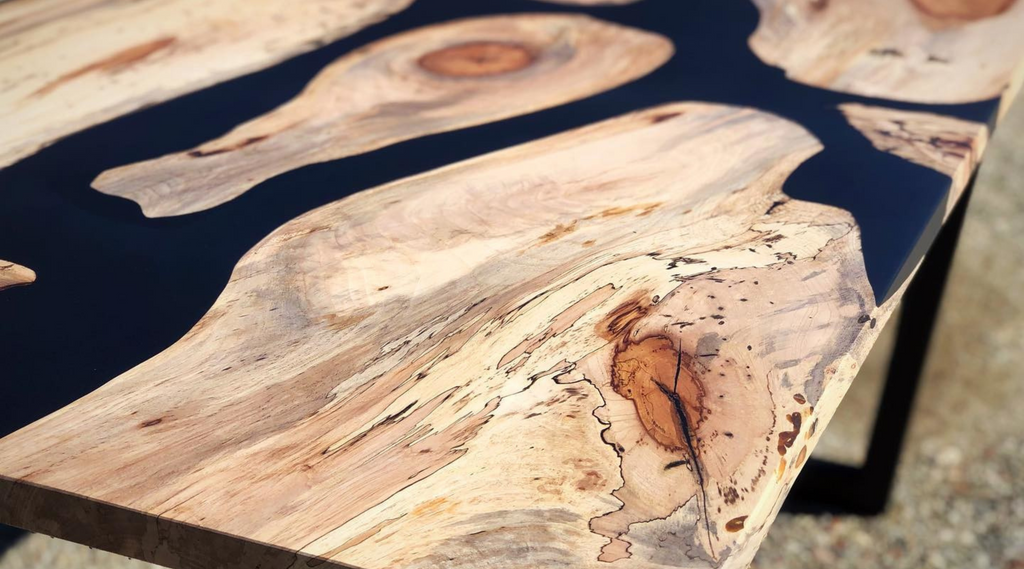
PC: @love_of_the_grain_workshop
2. Alcohol Inks
For a tinted transparent look - think stained glass - alcohol inks are a perfect choice. They create vibrant washes of color while allowing light to pass through making them ideal for layered effects or dreamy, fluid blends.
- Best for: Faux glass projects, coasters, trinket trays, jewelry, layered pours, abstract art, and bloom techniques.
- Finish: Transparent or semi-transparent, with high vibrancy.
- Pro Tip: Alcohol inks can be unpredictable - in a good way! Try dropping different colors into wet epoxy and watch them bloom and swirl.
We're especially loving these alcohol inks from the Color Creator line.
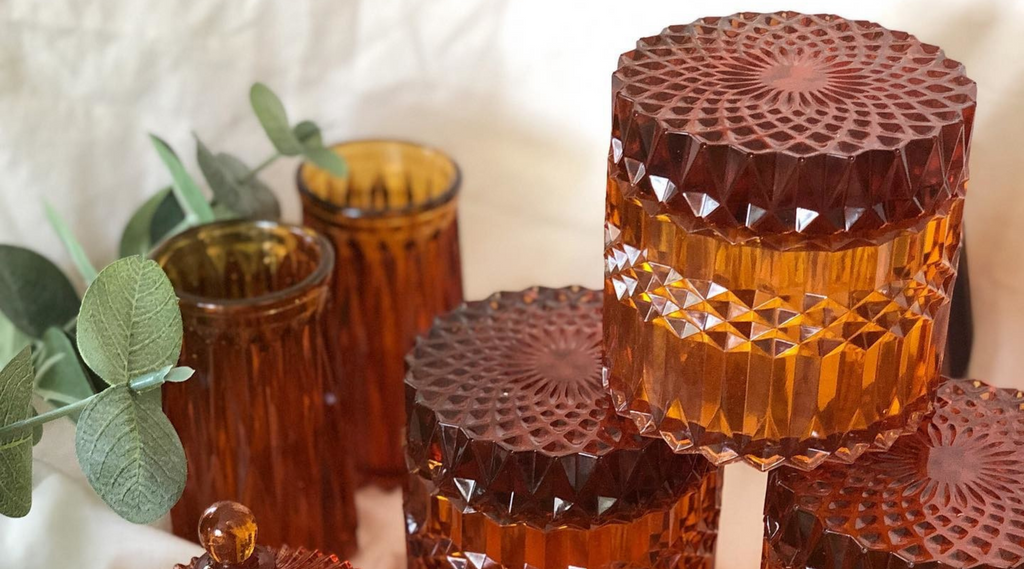
PC: @fridasmallo.designs
3. Mica Powders
If you're after color plus sparkle, mica powder is your magic ingredient. These fine powders come in every shade imaginable, especially with Eye Candy Pigments, and add a shimmering pearlescent quality to your work.
- Best for: Geode coasters, river tables and woodworking when you want shimmer, coffee tables, chess sets, and metallic accents.
- Finish: Metallic or pearlescent with depth and luminosity.
- Pro Tip: Use a blend for extra sparkle on top of your base color.
These are some of our favorites from Eye Candy Pigments right now!


4. Color-Shifting Pigments & Glitters
Also known as chameleon colorants, these create dynamic, multidimensional effects that shift color depending on the light and viewing angle. Perfect for projects that demand attention.
- Best for: Statement trays, art pieces, accent details on furniture.
- Finish: Color changes with movement and lighting.
- Pro Tip: Pair with a dark background for the most dramatic shift.
Check out this Chameleon Pack for your color-shifting needs.

The Art of Mixing
Achieving the perfect colored epoxy requires more than just adding colorant; it's an art form in itself since each colorant has unique properties. Here are some tips for mixing your colored epoxy:
- Start Small: Begin with a small amount of colorant and gradually increase until you achieve the desired hue. This allows for greater control over the final color. A little goes a long way with pigment dyes vs. alcohol inks where you can be a little more generous. The general rule of thumb though is that you can always add more - but you can't remove it once it's in your epoxy.
- Mix Thoroughly: Ensure the colorant is thoroughly mixed with the epoxy to avoid any streaks or uneven coloring. This includes scraping the sides and bottom of your container!
- Test First: Always test your colored epoxy in a small mold or a sample piece to ensure the color meets your expectations before applying it to your project.
Embracing The World of Colored Epoxy
Remember that experimentation and creativity are your best tools. Don't be afraid to mix different colorants, play with transparency levels, and explore new techniques. With Promise Epoxy, you have a partner in creativity, offering not just quality epoxy products but also a community of makers and artists who share your passion for bringing ideas to life.
Colored epoxy opens up a world of possibilities for creative expression and design. Whether you prefer the solid depth of pigment dyes, the transparent beauty of alcohol inks, or the sparkling allure of mica powders, there's a colored epoxy solution to bring your vision to reality. Your next masterpiece awaits! Don't forget, we're always here to answer any questions you may have along the way!