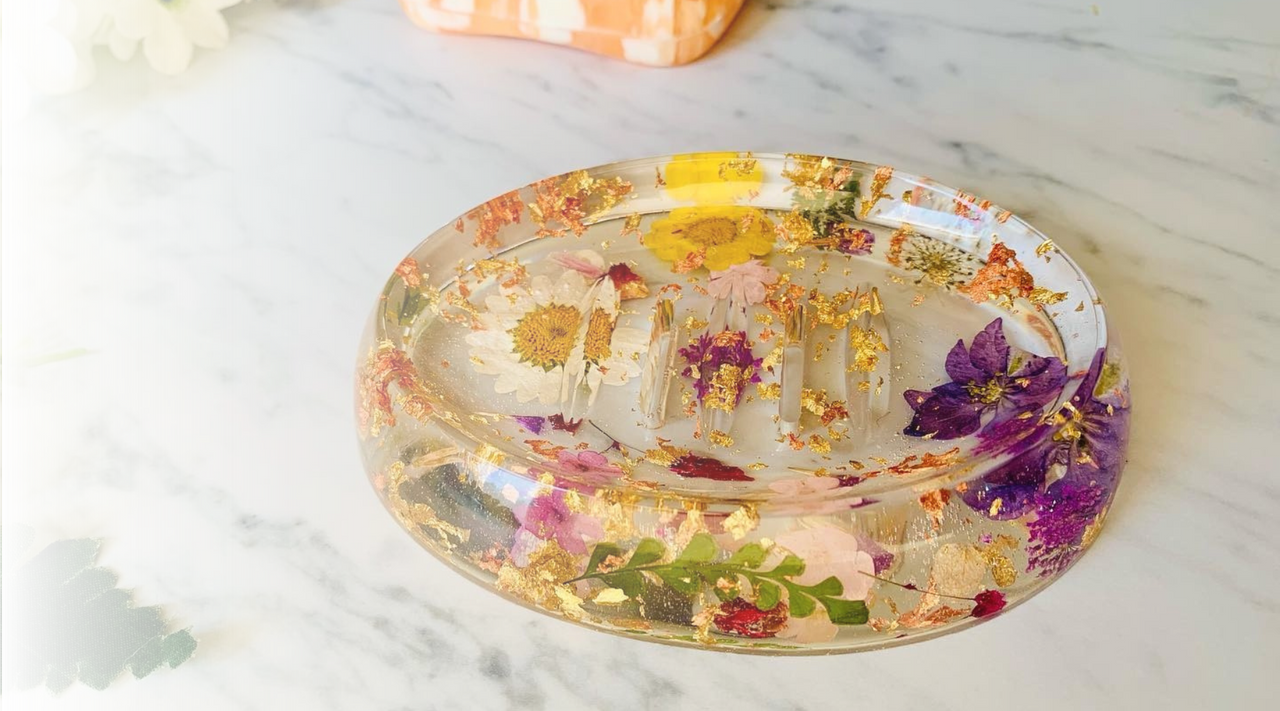
Isn’t it magical how nature’s fleeting beauty can be captured forever? At Promise Epoxy we believe in cherishing these delicate wonders. Let’s dive into the enchanting world of flower preservation in resin, a process that's not just a craft, but a celebration of life’s beautiful moments.
Both dried and live flowers can be encapsulated in resin. However, live flowers fade in color, and bubbles may form as a result of the plant's natural moisture being released. Therefore, for best results, we recommend drying your flowers before encasing them in resin.
Step 1: Embracing the Art of Drying Flowers
It all starts with selecting those special blossoms – maybe they’re from your garden, a memorable occasion, or just because they speak to you. Next, we enter the gentle art of drying. There are numerous ways to dry flowers but the quickest and easiest is to use silica gel. Using silica gel, carefully cradle the flowers upright in a container, creating a snug nest for them to rest and slowly give away their moisture, preserving their form and beauty. You'll want to make sure your flowers are fully covered in silica beads. They will need 2-3 days to fully dry out, but trust us, it's worth it!
Step 2: Preparing For The Resin Magic
Now, it's time for the star of the show – our Deep Pour Epoxy. We believe in making the complex simple, so our resin is easy to work with, giving you more time to focus on your creative vision. Deep Pour Epoxy is a 2:1 mixing ratio by volume that results in thick pours and longer working times, making it our best resin for object encapsulations. Gather your dried blooms, our resin, and your chosen mold – perhaps one that mirrors the uniqueness of your floral treasure.
Step 3: The Craft of Encapsulation
Imagine your flower, timeless in its new glass-like home. We guide you through each step – mixing the resin, preparing the blooms (they might even take a dip in the resin before being placed in the mold), and the satisfying pour. It’s a process filled with little moments of joy, as you watch the resin embrace the flower in its glossy hug.
- Before you begin this process, it is crucial to look over the instructions for Deep Pour Epoxy. We also recommend pouring no more than 2" per application for larger molds. Smaller floral encapsulations can be done in one pour, but it may be easier to pour multiple thinner layers for those larger projects. This will help make sure you get a perfect glass-like cure.
- Make sure that your two-part casting resin is thoroughly mixed before preparing your dried flowers to be encased. It helps to have an anchor supporting the flower such that it sits the way you’d like it to in the resin mold.
- If you're looking to prevent bubbles, you can always use a pressure pot. Typically, you will want to put your project in the pressure pot before the open time of the resin is done and leave it in there until the curing time is up. Pressure pots apply pressure to minimize bubbles, and keeping your project in them for the entire curing time will avoid allowing air to expand those bubbles again. Whether or not you use a pressure pot or not, be sure to allow the resin to cure for the appropriate time, as shown in the instructions on the bottle.
Step 4: The Finishing Touches
After the cure, the big reveal – it’s like unwrapping a gift! Gently, we release the flower from its mold, and there it is, a piece of permanent spring, ready to be admired. Whether it’s a lamp, a keepsake, or a piece of jewelry, it’s more than just an object; it’s a story or a memory.
Ideas For Casting Flowers In Resin
These are some common and gorgeous floral encapsulation ideas to put on your crafting bucket list!
- Bookmarks
- Paperweights
- Bookends
- Wedding bouquet blocks
- Necklace pendants
- Earrings
- Coaster sets
- Coffee tables
Need the visual aid? Watch our full tutorial video on YouTube so you can perfectly prep your flowers for your next project 👇


5 comments
que es ese producto donde pones las flores, y si se puede volver a usar
You recommend a 2 to 1 ratio for a deep pour. What to what? Rosin to hardener or vise verser?
I did flower encapsulation in a square mold and when I demolded it after 5 days of curing its uneven and the top is dented in. Its not square anymore… How do I fix this?
Do I put it back into the mold and fill the gap with resin? So its straight? Client is already breathing down my neck… Help pls…
Very well explained and also shown in the video, very helpful
Very well explained and also shown in the video, very helpful